How to setup a Email Account in iPhone Using Enhance Control Panel
This guide shows how to set up an email account on iPhone using server settings provided when you create the mailbox in Enhance Control Panel (or via WCORS, https://web.wcors.com).
-
Open Settings
-
Scroll down and open App and then find Mail
-
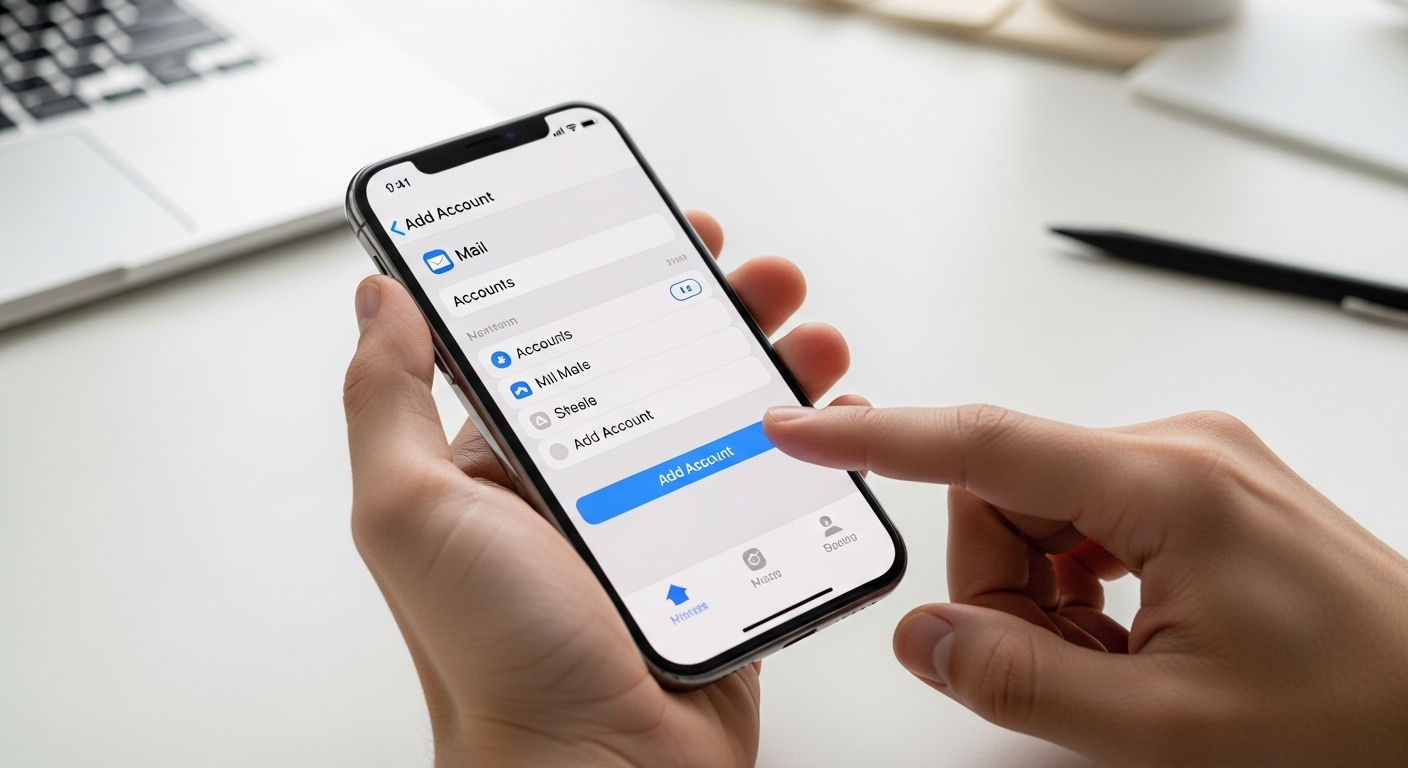
Tap Accounts
-
Tap Add Account
-
Select your email provider (e.g. iCloud, Google, Yahoo, Exchange)
- Tap Other → Add Mail Account (In this case, Other)
-
Enter your details:
- Name (how you want your name to appear)
- Email address
- Password
- Description (e.g. “Work Email”, “Personal”)
-
Tap Next
It will prompt for settings related to IMAP/POP (Prefer IMAP)
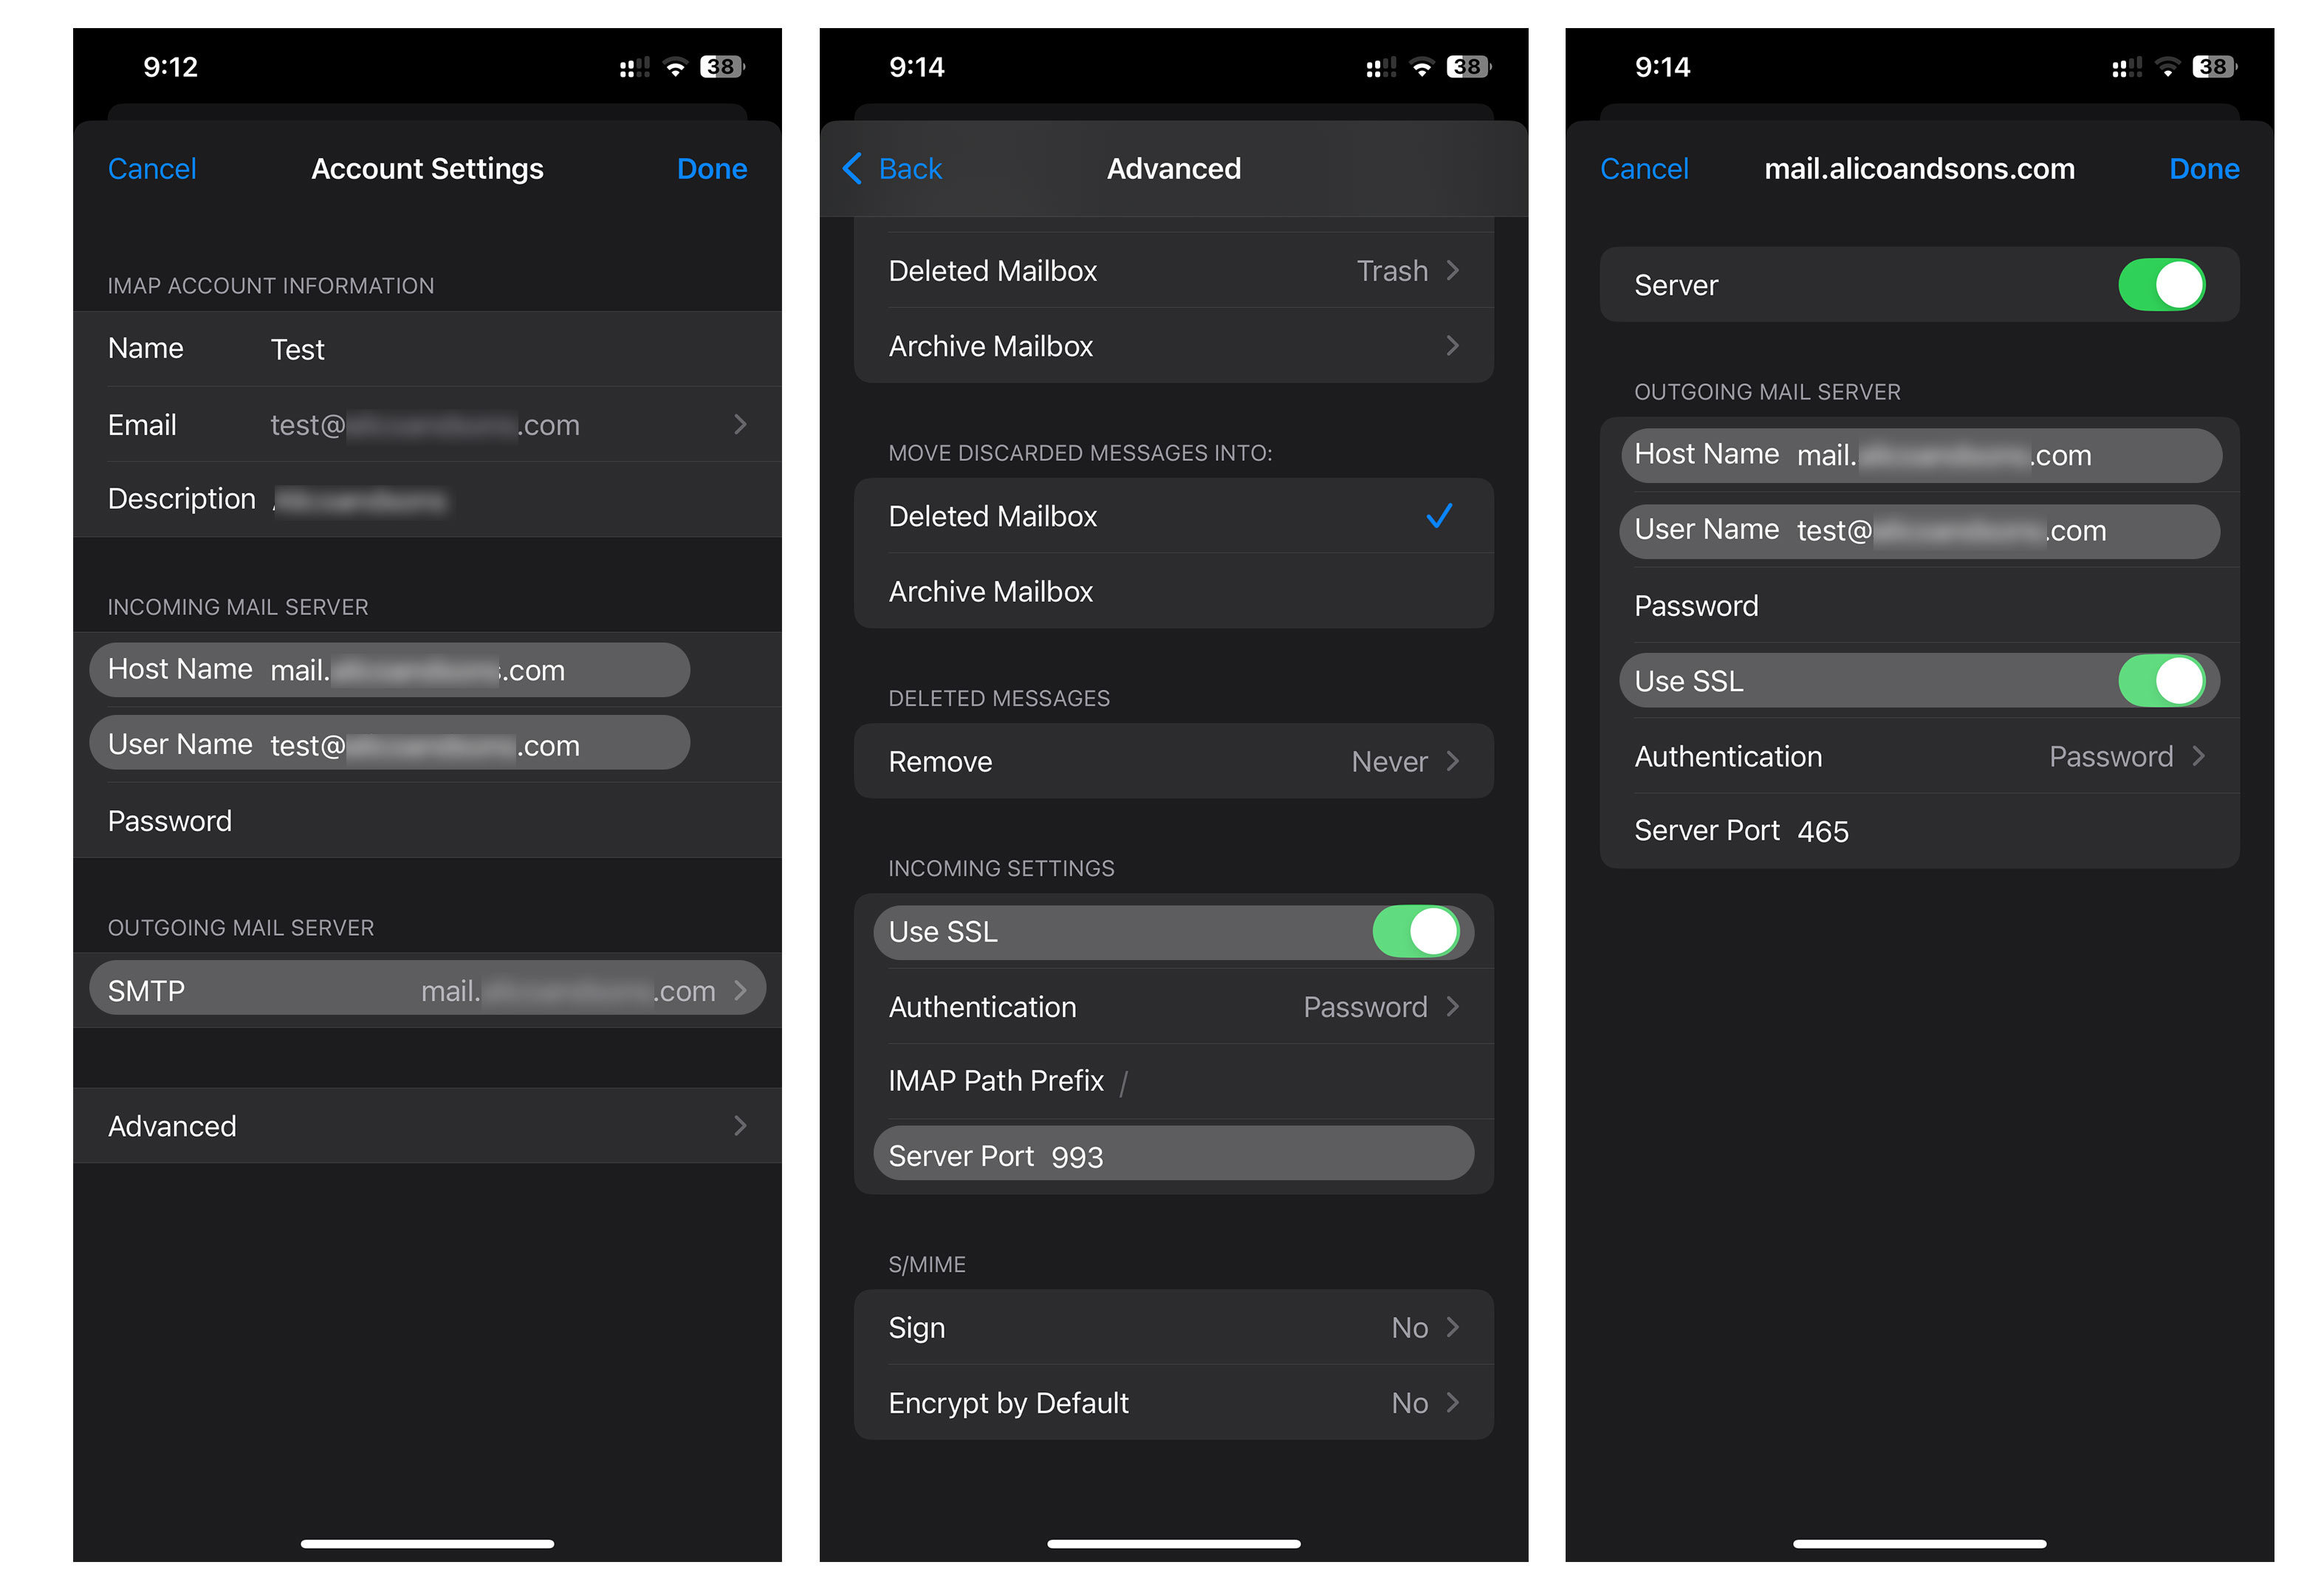
———————————————————————————————
Email Address: user@domain.com
Server: mail.domain.com
Port: 993
Username: user@domain.com
Password:<password>SMTP Server: mail.domain.com
SMTP Port: 465
SMTP Username: user@domain.com
SMTP Password:<password>
Important! Please ensure SSL is enabled for both IMAP/POP and SMTP.
- The Mail app will try to automatically verify your account.
- Once verification succeeds, tap Save
- (Optional) Choose which items you want to sync: Mail, Contacts, Calendars, Notes, etc. =======
What is the error Cannot Verify Server Identity?
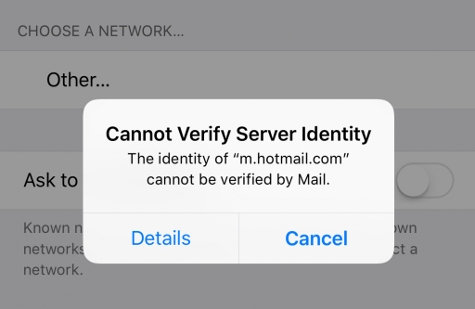
How to fix it in iOS 10.x+
In the later versions of iPhone and iOS 10.x+, this option to add certificates to “Trusted” list is no longer available. So, for such devices, we’ve found these steps to work:
Delete all mail accounts related to your domain.
Make sure you have the DNS Propagation process has been completed almost 72 hours.
Re-Issue SSL Certificate (Let's Encrypt)
Please re-issue the SSL Certificate using your Control Panel > Security > Three Dots (Next to your domain name) and Click "Request Let's Encrypt certificate"
if it doesn't help then you can
Go to Settings –> Accounts & Password –> [Account Name] –> Delete Account. Then delete all outgoing mail servers in settings.
Re-add the mail account(s). This will provide the option to “Trust” the certificates again as described above.