How to Set up your email account on an Android device
Follow these steps to set up your email account on an Android device. Before you must have created a email account using the following control panel URL https://web.wcors.com
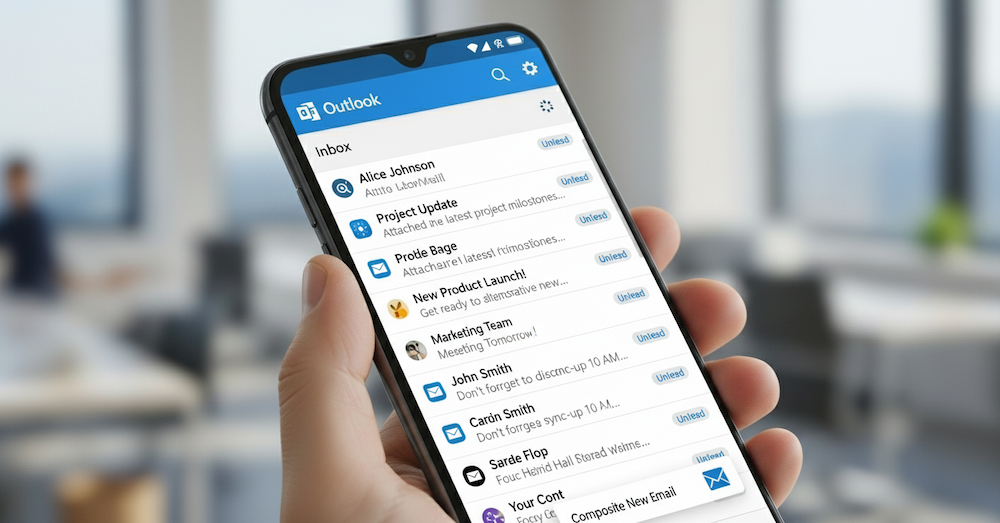
1. Open the Email App (Microsoft Outlook)
- Go to your App. However you may have Mail or Gmail option in your device.
2. Add a New Account
- If this is your first time opening the app, it will ask you to add an account.
- If you already have an account, go to Settings > Add Account.
3. Enter Your Email Address
- Type in your full email address.
Example:you@domain.com(e.g. info@websol.biz) - Tap Next.
4. Select Account Type
Choose the correct account type:
- IMAP – Recommended (keeps emails synced across devices).
- POP3 – Downloads emails to your device only.
5. Enter Incoming Server Settings
Fill in the details provided by your hosting provider:
- Username:
you@domain.com(e.g. mail.websol.biz) - Password: Your email password (Use https://web.wcors.com if no email is created)
- Server:
mail.domain.com(e.g. mail.websol.biz) - Port:
993for IMAP (or995for POP3) - Security type: SSL/TLS
6. Enter Outgoing Server Settings
Fill in the SMTP details:
- SMTP Server:
mail.domain.com(e.g. mail.websol.biz) - Port:
465 - Security type: STARTTLS or TLS
- Require sign-in: ✅ Yes
- Username:
you@domain.com(e.g. info@websol.biz) - Password: Your email password
7. Account Options (or ignore)
Choose your sync preferences:
- Sync frequency: Every 15 minutes, 30 minutes, or Push.
- Enable/Disable: Sync email, Notify me when email arrives, etc.
8. Finish Setup
- Tap Next.
- Enter your name (this will appear on outgoing emails).
- Done ✅ Your email is ready to use.
🎉 Success!
You can now send and receive emails from your Android device.